Building the site : part two
Lessons learned
I was probably a little hasty in putting the site live. As soon as I had notified the Twittersphere about my new venture, I decided to actually check for the first time how it looked on my phone.
It wasn't good 😬.
There was zero padding around the content on mobile, making it particularly bad on any device with a notch, and my attempt at vertically centering content on the homepage had backfired as the content itself was bigger than the viewport. For a front-end developer who claims to have an eye for design, this was all a bit of a misstep and a lesson learned about not getting carried away with the excitement of going live.
The next facepalm moment came when I realised after the fact that Netlify doesn't appreciate my 2014-era SPA, and would 404 if you tried to access a page directly. Makes sense, since all pages are currently routes rather than files, so I discovered that I needed to include a special file to force all requests to go to the index.html page, and allow routing to handle it all. It seems that putting a _redirects file in the root of the publication folder with the following content in does the trick:
/* /index.html 200...however, this leaves a new problem dangling in that now all paths respond with a HTTP 200 — even requests for invalid pages — which is still not what I want. However, it seems that if I want to have my pages and routes correct I've got to be a little more explicit in my_redirects file. This would be a pain to maintain, so I'm tempted to make it a part of the build process to generate this file based on the site navigation; alternatively I could bite the bullet earlier than expected and look to move to a static site generator for my content, doing away with the problem of virtual pages altogether.
Another problem with the SPA route-based approach was that navigating between pages would retain scroll position, meaning that you could jump from part one to part two and start some two thirds down the article. To correct that, I created a custom React hook to scroll to the top of the page whenever the path changes.
import { useEffect } from 'react';
import { useLocation } from 'wouter';

const useScrollToTop = () => {
  const [pathname] = useLocation();
  useEffect(() => {
    window.scrollTo(0, 0);
  }, [pathname]);
};

export default useScrollToTop;
Finally, I had noticed some things in the content of my first post which in hindsight I wasn't happy about. I'd used the phrase "I toyed with..." three separate times, which made me wish I had proof-read it sooner and been a bit more varied with my language. However, that made me decide to set myself a rule for this website: that I will not go back and change any posts I have published, except to correct any glaring typos or broken links. The content can stay with all its warts, hairs and careless grammar, and we will see if my copywriting improves over time.
...and yes, for those of you just noticing, I am quite self-critical. I don't beat myself up too much, it's just my way of trying to continually improve.
Back to the site
Now that I've got a couple of pages of content, I wanted to allow navigation between them. For now, given that my site has just one story with multiple parts, I've gone down the route of simple prev/next links at the end of each article to allow the content to naturally flow. A link back to the homepage will be present at the top of each page and I'm not looking to make that more prominent just yet since the homepage doesn't serve up much other than directing you to the individual parts of the story. It's all a bit rudimentary at the moment, but to be fair there isn't much yet to navigate to, so I'll let this one evolve as the site does.
I also put a bit more effort into the HTML structure of the pages since the first release, including what I believe is the correct usage of semantic elements for the content of the page; article, section, etc. — I even managed to squeeze in what must be my first ever use of the time element for the date of each post.
Favicon
One of the low hanging fruit I wanted to tackle as soon as possible was giving my site a favicon to avoid being stuck with the default React icon which ships with create-react-app. I genuinely hadn't given any thought as to what I'd want my favicon to be, but I had the spontaneous idea of seeing if somebody on the internet had developed a tool to create one from text. Of course they had — this is the internet! 🎉
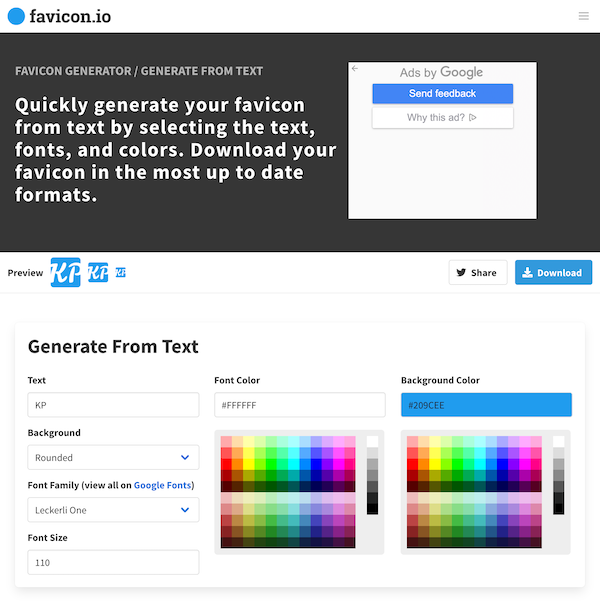
The first result in my search led me to favicon.io. It's a pretty uncomplicated tool which lets you create a favicon set from image, text or emoji. I opted for text just to see what a favicon of my initials would look like, and much to my own surprise I was pretty sold on it straight away.

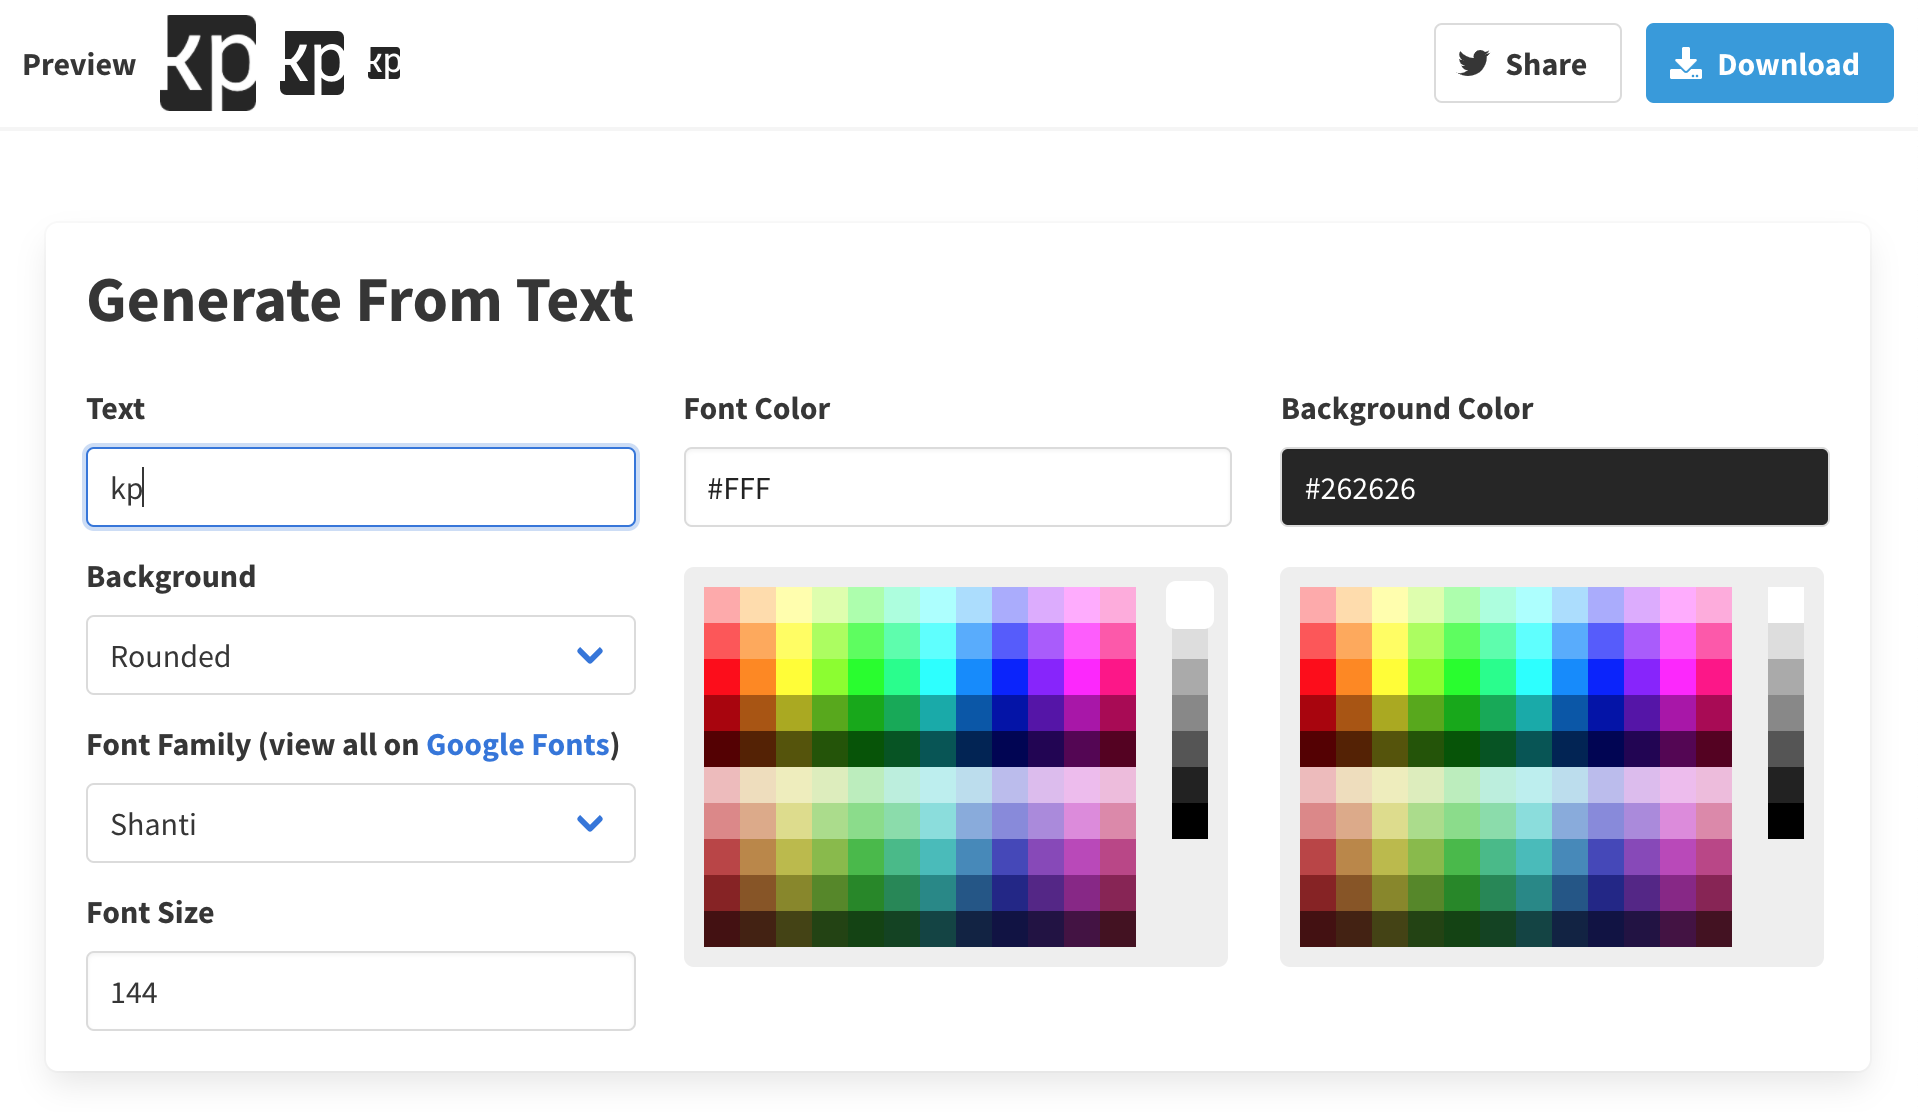
I played around with some of the fonts and colours and after kicking the font size around a bit I settled on something which took the lettering to the edges of the background box, which I thought gave it an interesting look.

I downloaded that and added it to my site and was happy with the result sitting there in my chrome tab, so much so that I decided to see if it would hold its own as a bit of a "logo" on my homepage in place of the literal <h1></h1> surrounding my domain.

It didn't look quite right. I mean, the logo itself seemed fine and I had all but settled on keeping it, but what bothered me was the white lettering. It looked good against a white background because it gave the illusion of a cut-out from the background box, but against any other background that extra colour felt like a third wheel. I wanted to keep the cut-out aesthetic whatever the background colour, but it seemed that there was no way to do that through the favicon generator I was using, since it would always render a solid foreground colour against a solid background colour.
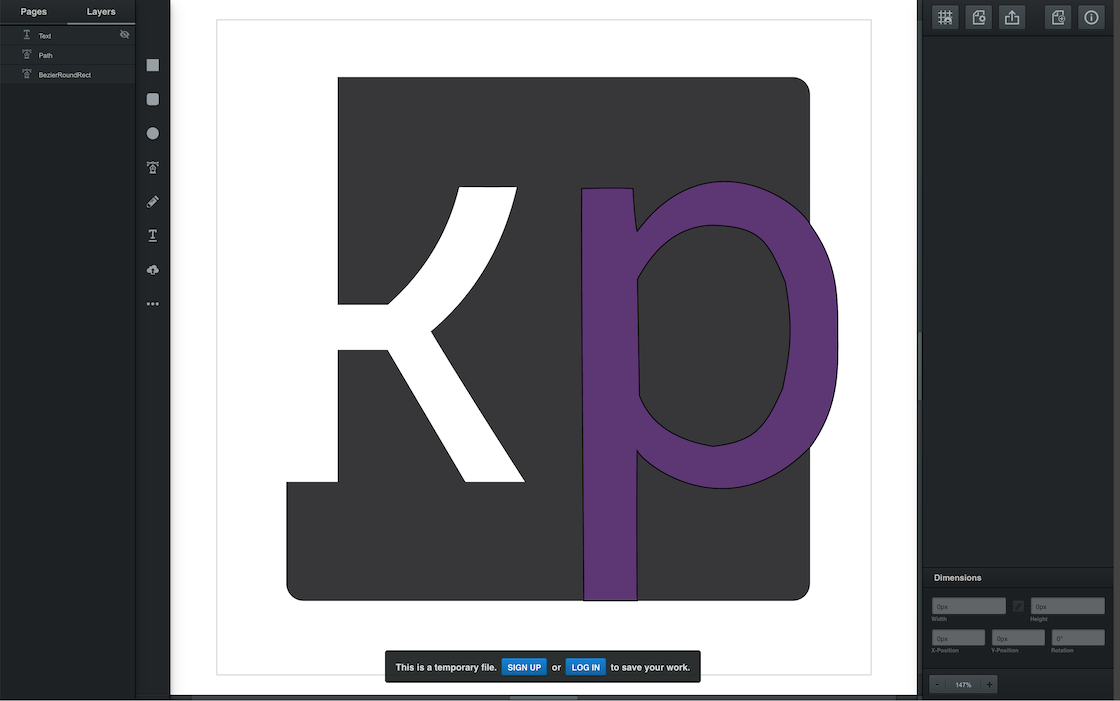
My next thought was to try and create a vector-based version of this logo, where the lettering was a path cut out from the background box. Again, the internet delivered in the form of an online vector drawing package called Vectr, which dutifully follows the commandment that all modern web applications can only use one vowel in their name. It is a very simple online drawing package, although thankfully it came fully loaded with a bunch of Google fonts including the one that I had chosen on my favicon generator. I created a square with rounded edges and then added the text layer to match my design. Then came the sticking point. It didn't seem possible to "subtract" one layer from another. Reading their docs, it seems that the application does support this feature, but not if one of your layers is text. Damn!
I was about to go back to square one and look for alternative applications hoping that they had the same font which by this point I was fully invested in, but just before leaving I caught a glimpse of the "path" tool. This would allow me to draw arbitrary shapes which would be valid to subtract from the background. I set to work tracing the lettering as a new path layer, expecting to find the process a bit too difficult to accomplish on my MacBook's trackpad, but to be fair the application was really good at snapping to relevant edges and implicit guidelines and even gave fine-grain control of curves. Fantastic! I traced the lettering as good as I was going to get it in the brief window that my youngest was having a nap and subtracted it from the background.

I was able to export to drawing as an SVG — thankfully! I hadn't checked whether that was something I could do without using a paid version of the tool — and then ran that SVG through another favicon generator to generate all of the different shapes and sizes expected by the various modern browsers. I then took the largest of these and used it as the logo on my homepage, and I was pleased that I persevered with it.
Backgrounds and motion
I hinted briefly in my last post that I like good design and I like subtle use of animations to bring a bit of life to a page. The more observant of you may have noticed that my pages change their background colour each time you reload them; I did that as a starting point just for a bit of fun, and I think I'm going to stick with it because I quite like it — I think it offers a bit of entropy to what is currently an otherwise bog-standard site.
In the first release, the background was a two-tone split along a diagonal line, and whilst that didn't look too bad given the minimal effort that was put into it, my ambition was for something a bit more curved with subtle undulation. Maybe my PlayStation home screen has been subliminally influencing me all these years. I've happened across a number of articles and Twitter posts discussing how to animate SVGs, all the time wishing that I was somebody who got to do cool UI stuff like that — well, I figured that this might be a nice opportunity for me to (a) turn that frown upside down, and (b) see if it could work for my background.
However, since the majority of the things I've worked on for this update are either fixes to things I did wrong or slight enhancements that I'd like to be there as early as possible, I've decided to bump the background and motion work to my next update.
Next steps
For the next update, I want to focus on the following:
- Focus on the page backgrounds and try to make them purr.
- Look at some of the visual features I added in this iteration — images, code blocks, etc. — and see if there are any tweaks that can be done to improve them.
- Add a build step to auto-generate the
_redirectsfile. - Decide on my browser testing strategy and tooling.
Stretch goals:
- Unit tests. I've been very naughty and have neglected unit testing for the functionality that I'm writing. I need to sort that.